

On Thanksgiving my SIL gave me some cute Christmas countdown blocks that I fell in love with. I thought it would be fun to make some Valentine (and maybe other holiday) blocks.
Here's how I did it:


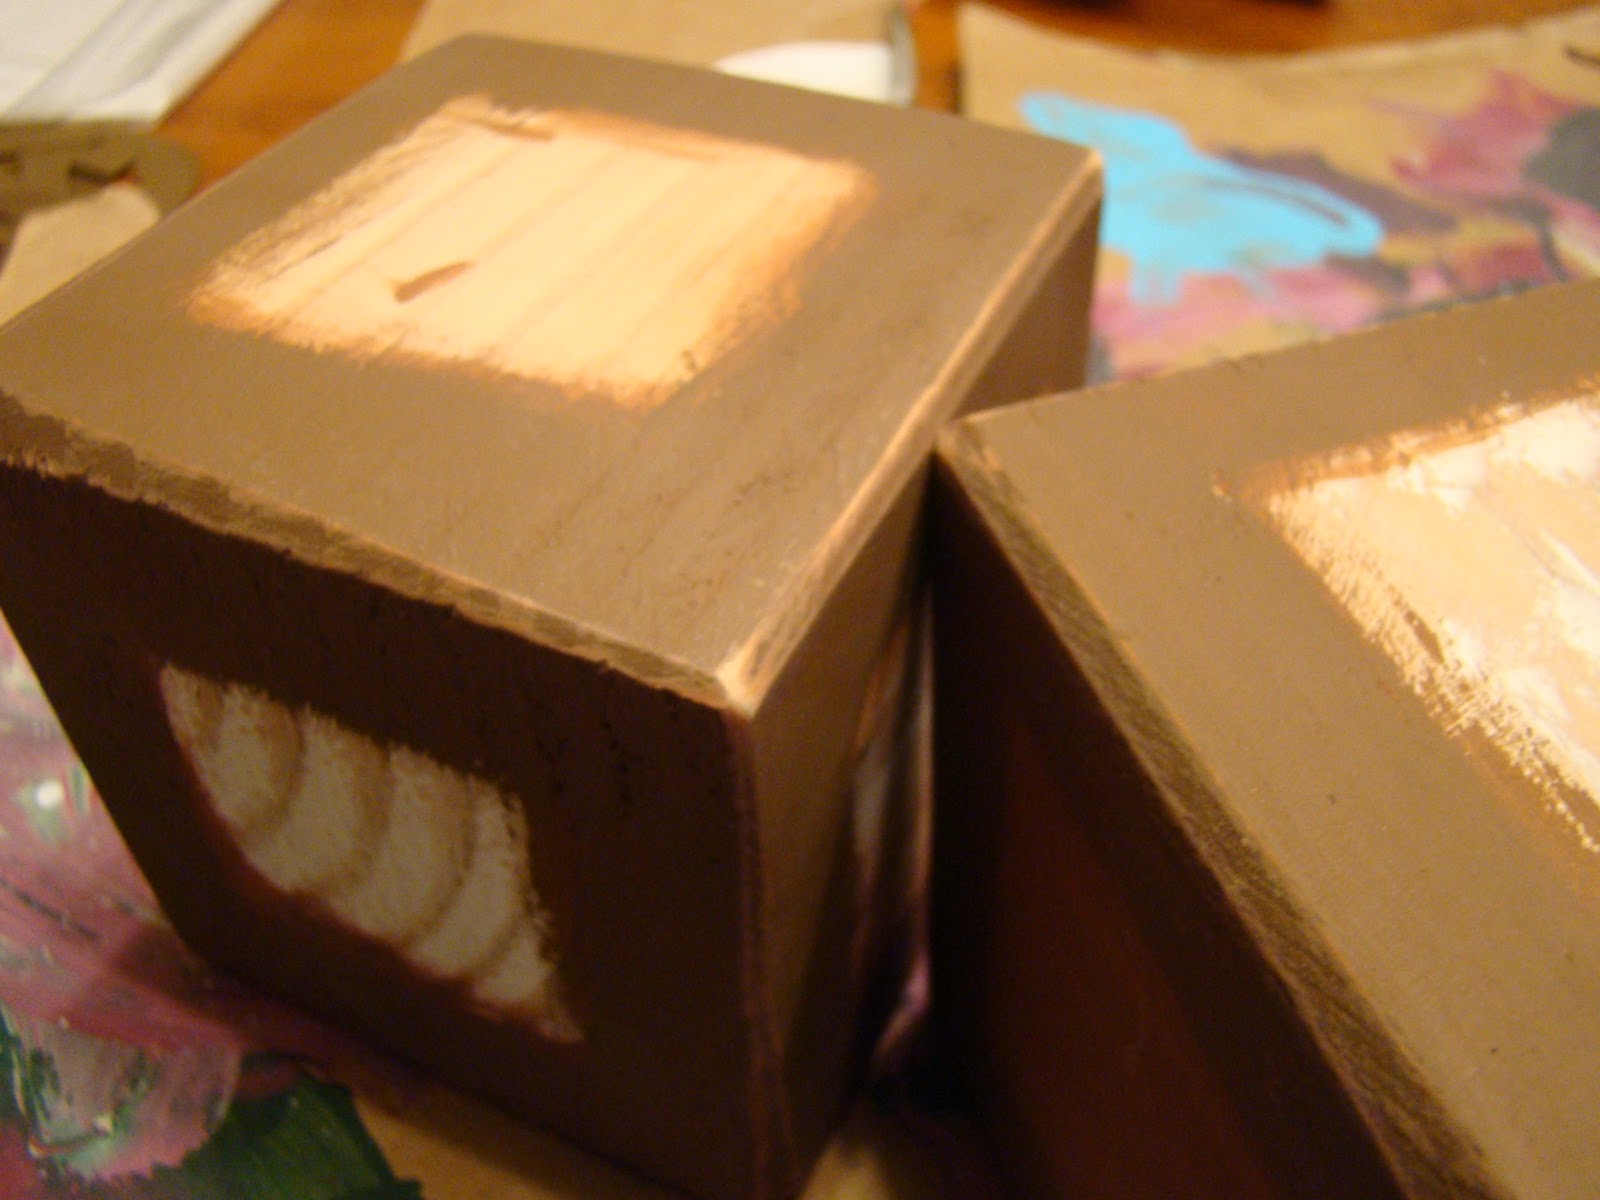

6. Sand the edges of the blocks again. {optional}

7. Mod podge the papers. {For tips and tricks on mod podge click HERE.} Let dry.

8. Mod podge the numbers and letters. Let dry. Mod podge over any uncovered areas. Let dry.
9. Finish off with spray sealant. (It helps the blocks feel less tacky, and so they won't stick to the board.)

 |
| I think "February" would be good too because then you could use it the whole month... |
Hope this tutorial was helpful! I'd love to see your blocks! E-mail me your link!

Happy Valentine's!
xoxo,
Melanie


