Showing posts with label Tutorials. Show all posts

Homemade Clocks

I saw this segment on Studio 5 and knew I had to try it!
I made this small version as a tester, and was really happy with it.
If you watch the video the following steps will be easy to understand.

Step 1: Glue and nail the boards together

Step 2: Find the center and draw a line using a 'compass'.


Step 3: Cut out the circle.  I used a jigsaw.

Step 4: (not pictured) Route out a spot on the back for the clock kit to fit into.
Step 5: Paint!  I printed a clock face off the internet.  The easier, faster way would be vinyl.

Step 6:  Attach the clock kit.  You can find these at the craft store.  If you want to make a really large clock like in the video, you can find large clock kits online.

This was a lot of fun.  It's satisfying to click the battery in and watch something you made WORKING.  I see another, larger clock in my future.
Happy crafting!

Enamel Paint

I saw some pins about painting glass so I thought I'd give it a try.
I found the enamel paint at the craft store.  (I used "Americana" GLOSS ENAMELS)
I painted some baby food jars and my thrift store cookie jar.


I used masking tape on the jars, but the lines weren't super clean.  I'm sure it was better with the tape than without though...  It took MANY coats and LOTS of drying time.

Pinterest told me to "fire" them to make the paint more durable.  When they were dry I put them on a cookie sheet in a cold oven, set it for 325, and set the timer for 30 minutes.  Once the timer rang I turned off the oven and left them inside for another 10 minutes then took them out and let them cool completely.


I love how they turned out!  Happy crafting!

Big Scrap Letters

I've had some fun the last few months making letters like these:

The best part is they were free to make since I already had all the supplies!  
If you have some scrap wood or some twigs in your yard you can make these too.

Let's start with the twigs....

 First, I cut out the letter on some thin wood and sprayed it brown.

This isn't required, but I found when I sprayed the 2nd time it was easier to cover.
 Next I glued the twigs on with wood glue.

Make sure your sticks are dry!  Mine were in my garage for several weeks. Don't expect to pull some twigs right off the tree and use them right away.

I used wood glue and laid them as flat as possible.  Let it dry for a long time, even overnight.

You may need 2 layers of twigs, depending on how full you want it to look.
 After the glue was completely dry I cut the excess off with my scroll saw.
Then  I sprayed it again!

After it dried I tied it to a frame.


Now for the scrap wood letter...

First, I drew the letter onto a cereal box and cut it out.  Then I traced it onto thin wood.

Next is an "A" or "B" choice. You can either glue the wood scraps right onto the thin wood or cut out the letter first.  (I have tried both ways and found it's easier to cut out the letter first and then glue the wood on after.)

I secured the wood with nails from the underside so they wouldn't show on the front.  Over the years I have found glue PLUS pneumatic nails is the best hold.

I cut out the letter with a jigsaw this time since some of the scrap wood I used was thick.


I glued some felt on the back over the hanger and where the bottom of the C would touch the wall.


This one was a lot of fun and made me want to make more.  I kept with neutrals on this one, but just think of the color possibilities!

Hope this has given you some instructive help and ideas!  Happy crafting!!!

Make a Plinko Board

I couldn't find a good tutorial online, so I thought I'd share how I made my Plinko boards:

SUPPLIES I USED
Peg board
dowels
wood for sides,back, and disc
strong glue
pneumatic staple gun
chop saw/ scroll saw
small hinges
spray paint, acrylic paint


STEP 1
Home supply store- Buy a pegboard and have them cut it in half so it's tall and narrow.  (Now you can make 2 Plinko if you want!)  Find a dowel that fits in the holes snuggly and buy 3 of them.  Grab other supplies you need while you're there- like hinges for step 5.


***Note: I cut each board as I went.  If you want everything ready up front you'll need measure and cut all the wood first.***

STEP 2
Attach boards to back and sides.  One person suggested 2x4's, but I used some thinner wood I already had.  Use glue AND a pneumatic stapler.

STEP 3
Chop your dowel in pieces 2-3 inches long.  Decide the spacing of pegs and put in place.  I used tape to help me visualize.

***Note: The first one I made was the guinea pig, so some of the pictures seem to be missing steps.  Build yours how you'd like.  I'm just sharing the plan that worked best for me.***


STEP 4
Paint the whole thing.
If you type "plinko board" into Pinterest you'll see lots of painting ideas (but not as many tutorials ;) 
I used spray paint because it covers everything easily- no hand painting each dowel.  But it still took many coats.


STEP 5
Make it stand up!

First, Attach a "brace" board. (Hopefully my crazy wording will help you differentiate the pieces.)  The brace should fit between the back boards.  I placed mine a little higher than the middle of the pegboard.

Next, attach the legs to the brace board. I used small, inexpensive hinges.  They were perfect.  [The legs shouldn't be longer than the pegboard when Plinko board is folded flat.]

Lastly, stabilize the legs by hooking them together with another board.  Remember glue AND staples.


STEP 6
Paint "Plinko" at top and the shapes on bottom. 

I sketched it on paper then traced it onto the board.


STEP 7
Cut and paint wooden disc.
(I guess you could do this anytime during the process.)  Make sure it's big enough to "plink" around, but not so big that it gets stuck.


Hope this is helpful!  HAVE FUN!

High back Trellis Chair

West Creek Design is the brains behind this wonderful creation.  It's been on Studio 5 and Pinterest.  I loved it so much I had to try it!  Click HERE for the tutorial which includes step by step instructions with pictures.

The plans call for fence wood but I decided to try it with some free wood I already had.

Visit West Creek Design for the full tutorial

before stain and paint


As you can see I went with gray dots.

What a fun project!  Make one for your flowerbed or porch.  I think you'll love it as much as I do!

Happy St. Patrick's Day!

Here's a fast, easy craft you can do alone or with the kids!


The original idea came from HERE, I found it on pinterest.

First, sand and paint a board whatever color you'd like.


Next, draw your shamrock or words.


Then, paint with school glue.  I go over my pencil line so once everything is said and done the line doesn't show.


Quick!  Shake on the glitter before the glue dries!


I let it sit for a while, then shake off the excess to re-use.


Spray with hairspray to hold the glitter in place.


To see more crafts visit natalieandmelanie.blogspot.com

Countdown blocks


On Thanksgiving my SIL gave me some cute Christmas countdown blocks that I fell in love with.  I thought it would be fun to make some Valentine (and maybe other holiday) blocks.

Here's how I did it:
1. Cut a 4x4 post into squares (it will be about 3.5 x 3.5 x 3.5) and cut a 2x4 into desired length.  {If you don't have access to a saw, your local home/hardware store can cut it for you.}

2.  Fill holes and imperfections with putty or spackle.

3.  Sand!  I used a belt sander for the edges and fine sandpaper for the faces.

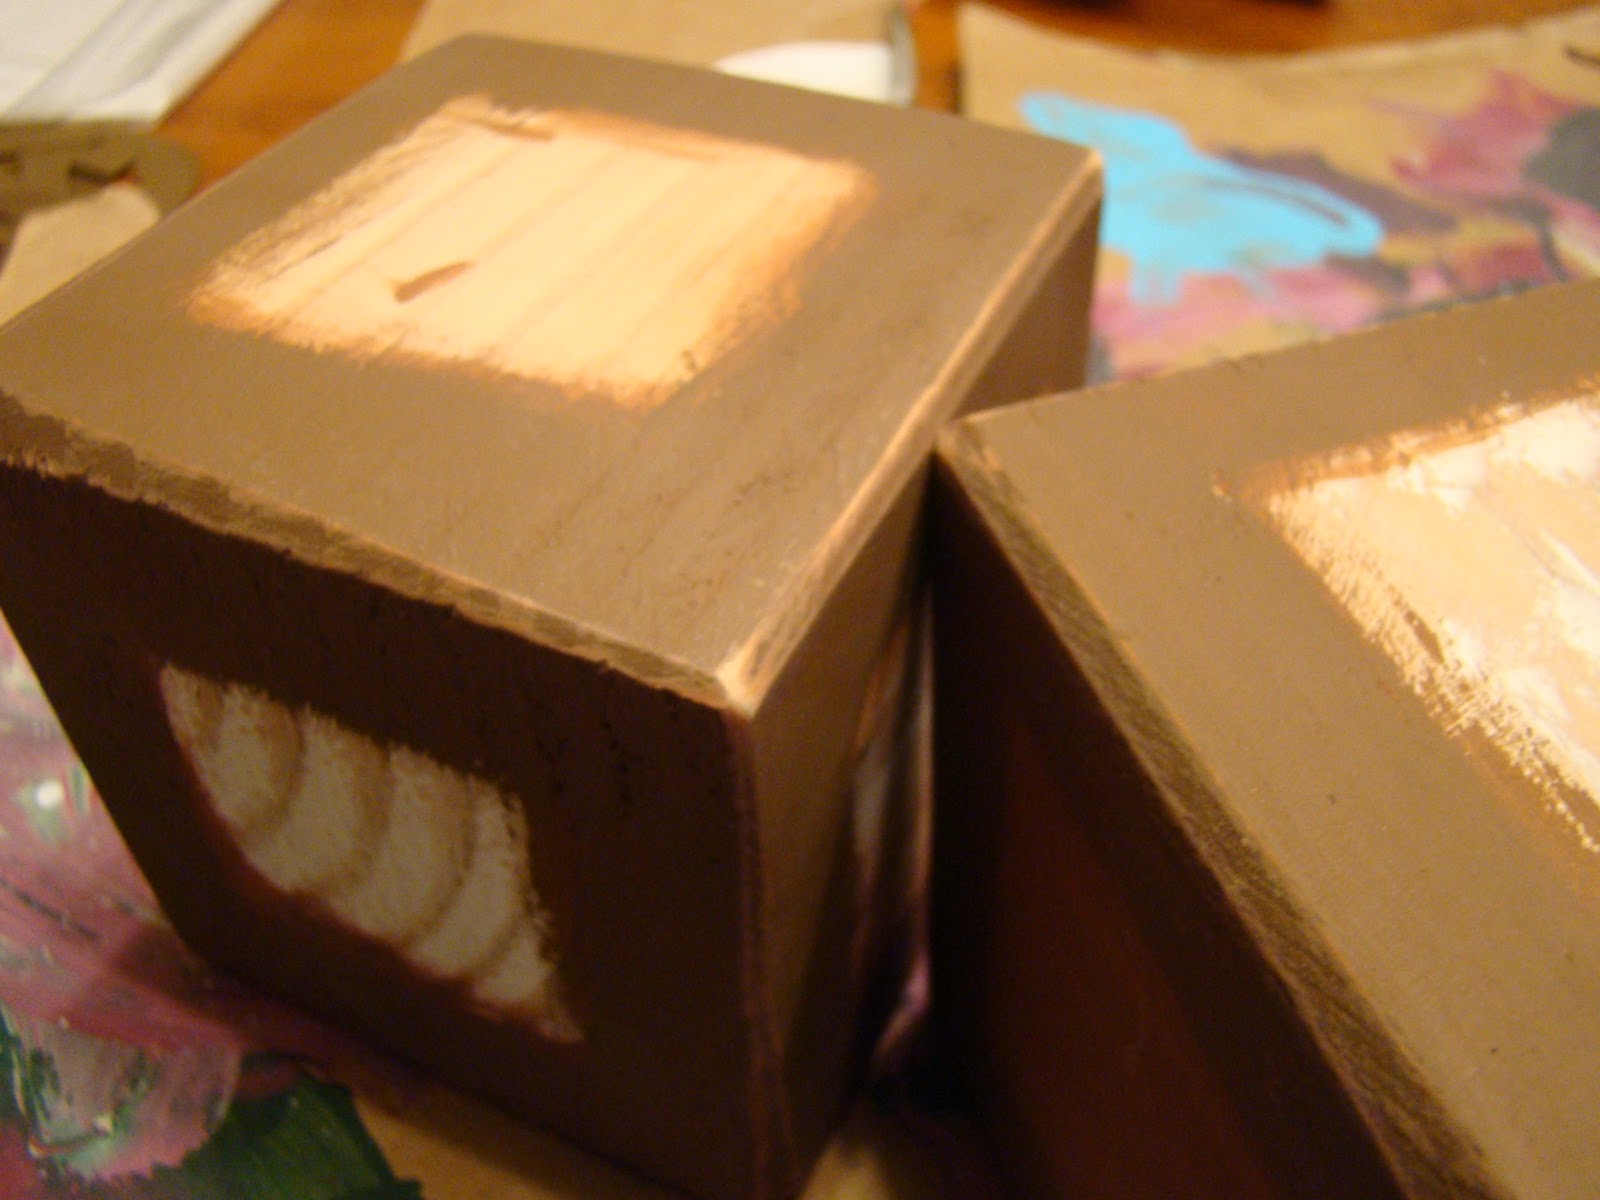
4.  Paint your blocks.  Don't worry about the centers since they'll be covered up.  Let dry completely.

5.  Cut some squares of paper.  Cut some numbers and letters.  {This might be good to do while you're letting your paint dry on step #4.} Block 1= 026178  Block 2=504123 (The 6 doubles as the 9)

6.  Sand the edges of the blocks again.  {optional}

7.  Mod podge the papers.  {For tips and tricks on mod podge click HERE.}  Let dry.

8.  Mod podge the numbers and letters.  Let dry.  Mod podge over any uncovered areas.  Let dry.

9.  Finish off with spray sealant.  (It helps the blocks feel less tacky, and so they won't stick to the board.)


I think "February" would be good too because then you could use it the whole month...

Hope this tutorial was helpful!  I'd love to see your blocks!  E-mail me your link!


Happy Valentine's!
xoxo,
Melanie